


- Account
- Lists
-
+
-
+
- Drafting Pencils
- Lead Holders
- Lead Pointers
- Inkless Pens
- Pencil Caps
- Pencil Grips
- Pencil Sharpeners
- Pencil Holders & Extenders
-
+
-
+
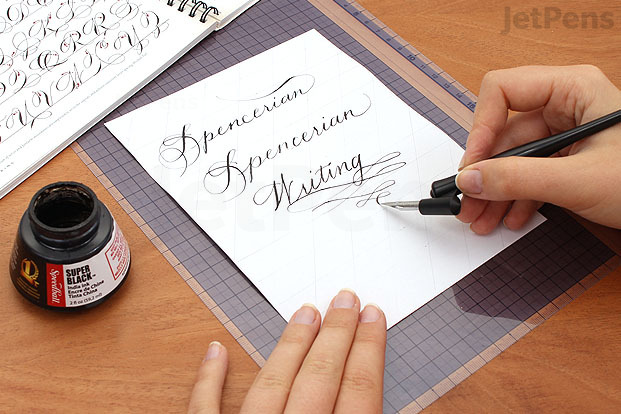
- Calligraphy Books
- Chalks
- Coloring Books
- Craft Punches
- Crayons
- Drawing Curves
- Eyedroppers & Syringes
- Manga & Comic Supplies
- Masking Fluids
- Stencils
-
+
- Sticker Organizers
- Templates
-
+
-
+
- Binder Clips
- Cleaning Cloths
- Clipboards
- Compasses
- Cutters
- Desk Toys
- Eraser Dust Cleaners
-
+
- Fingertip Protectors
- Hole Punches
- Keychains
- Letter Openers
- Magnets
- Magnifiers
- Notebook Accessories
- Paper Clips
- Phone Accessories
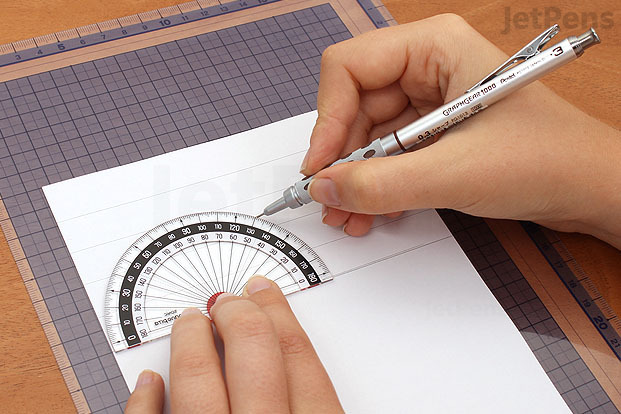
- Protractors
- Push Pins
- Rulers
- Scissors
- Staplers
- Writing Boards
-
+
-
New to JetPens+
-
Featured Brands+
-
Top Fountain Pen Brands+
-
Top Paper Brands+
-
Top Ink Brands+
-
Top Pencil & Pen Brands+
-
Top Bag Brands+
-
Top Art Brands+
- View All Brands
- Top 10 Stationery by Type
- Gifts by Recipients
- Gifts by Price
- Shop by Material
- Shop by Color
- 2024 Color of the Year
- Staff Picks
- Green Stationery
-
+
- The Best Planners for 2024
- The Best Pens for 2024
- The Best Pencils for 2024
- The Best Pencil Cases
- Glossary
- New Arrivals
- Log In


